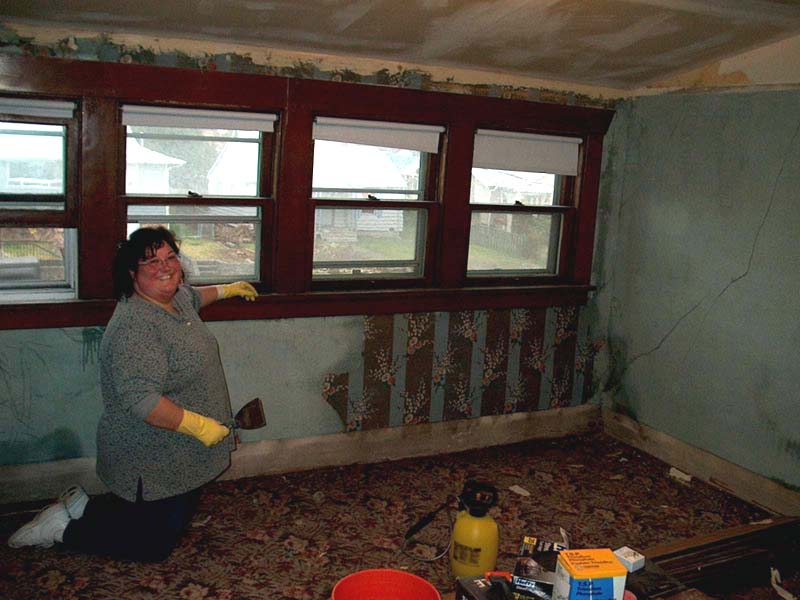
The master bedroom of our 1913 Craftsman-style house was in very bad shape when I bought it.
Past water damage of the ceiling forced the previous owner to install a thin layer of drywall to cover the damage. The owner did the work himself and did the world's worst taping job on the edges and seams.
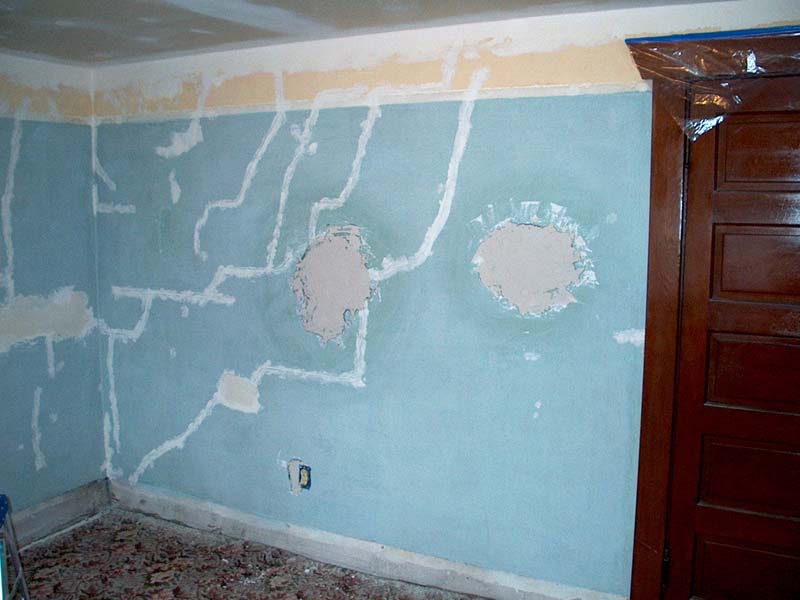
In addition to the bad ceiling work, all four walls have suffered some serious cracks over the years (did I mention the original lath-and-plaster walls?), as well as a couple of holes! Covering these bad walls were two layers of incredibly hideous wallaper and at least 3 coats of paint.
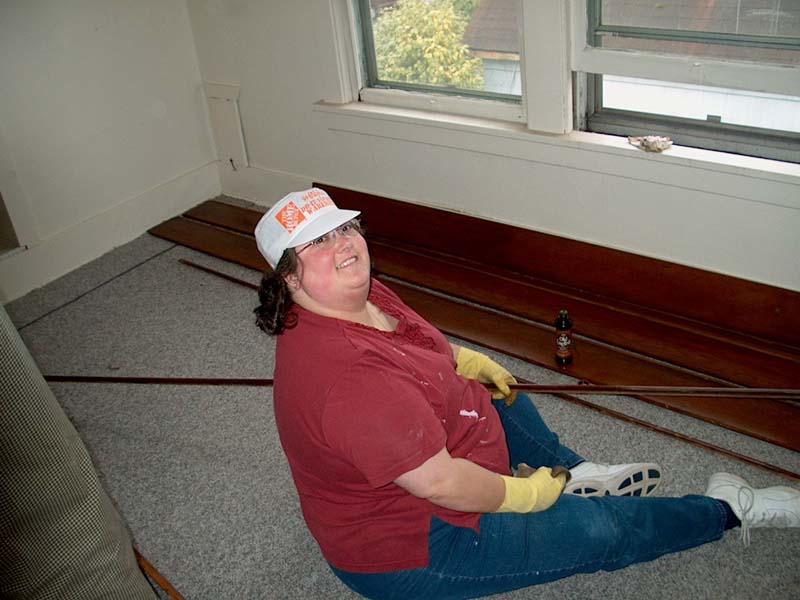
The floor covering was appropriate for the room--simply nasty! A wall-to-wall rug in an ugly flower pattern sat atop a crumbling jute pad. Under the rug is the original hardwood floor, but it's condition, combined with our timeframe, does not allow us to attempt a restoration at this time.
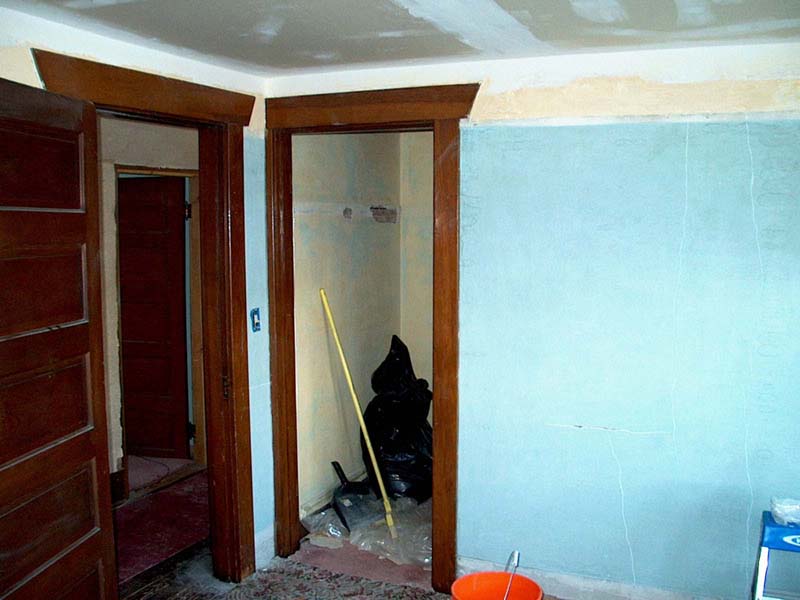
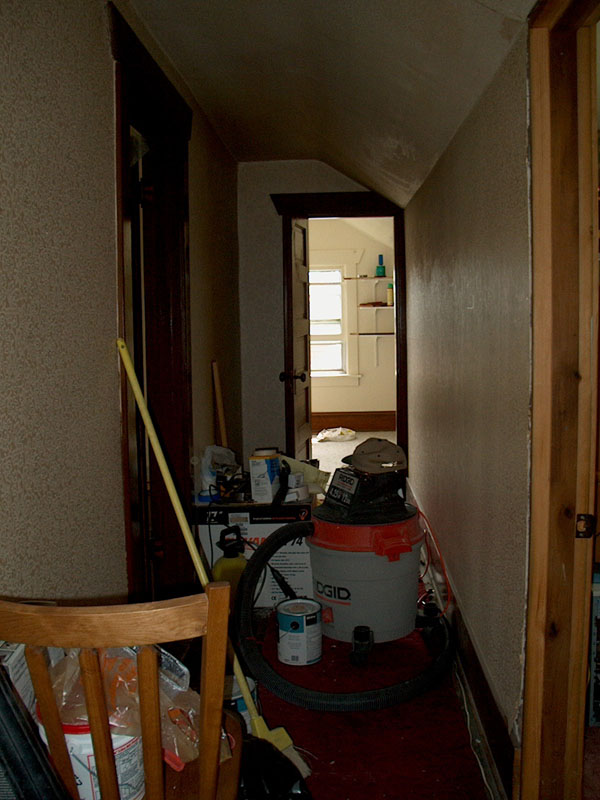
Before the wedding to Francie in April, all this has got to go! I regret that I lost all of my "before" pictures of the house, but the first picture gives you some idea what the room looked like.
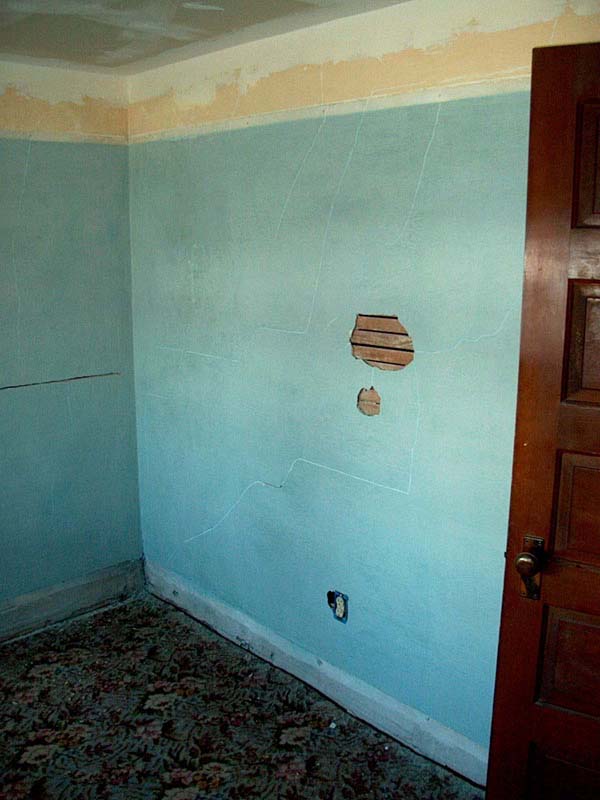
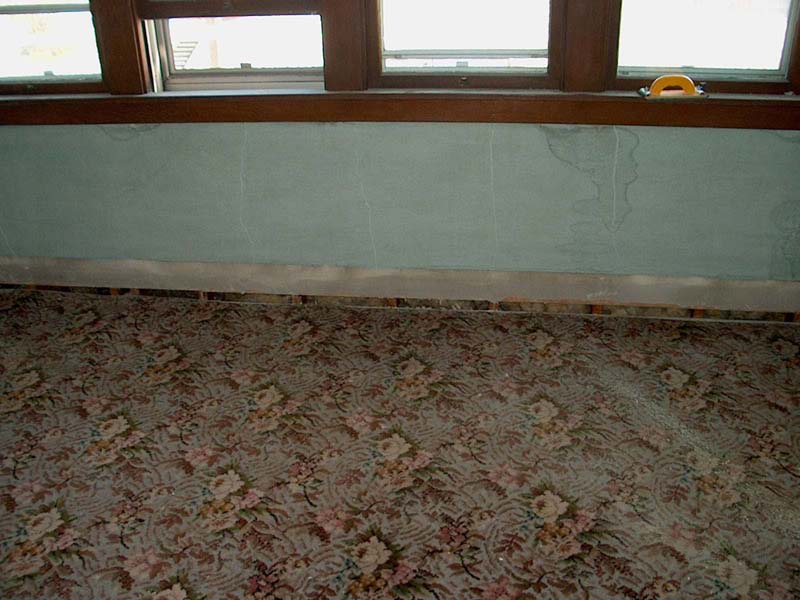
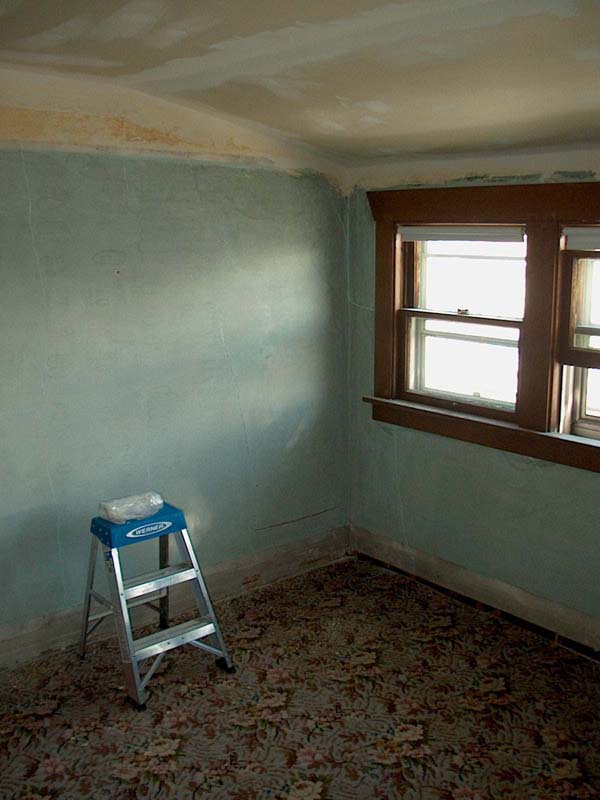
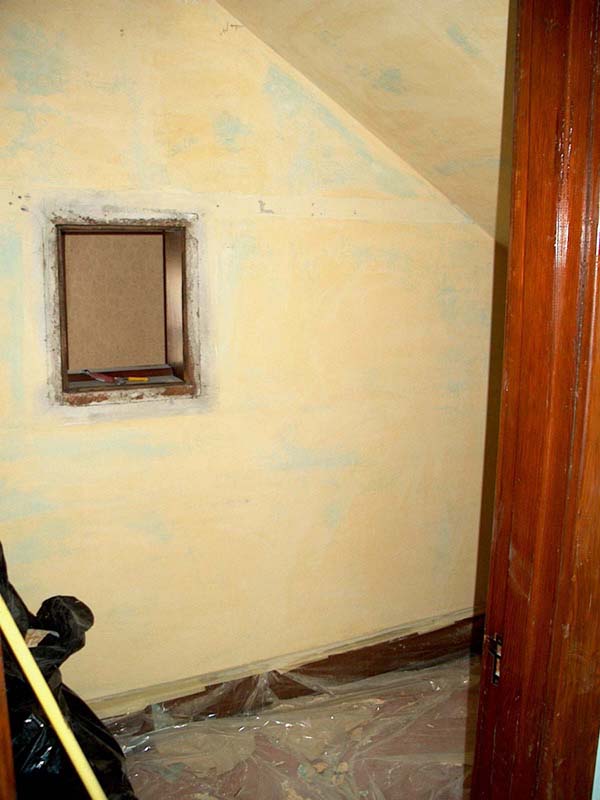
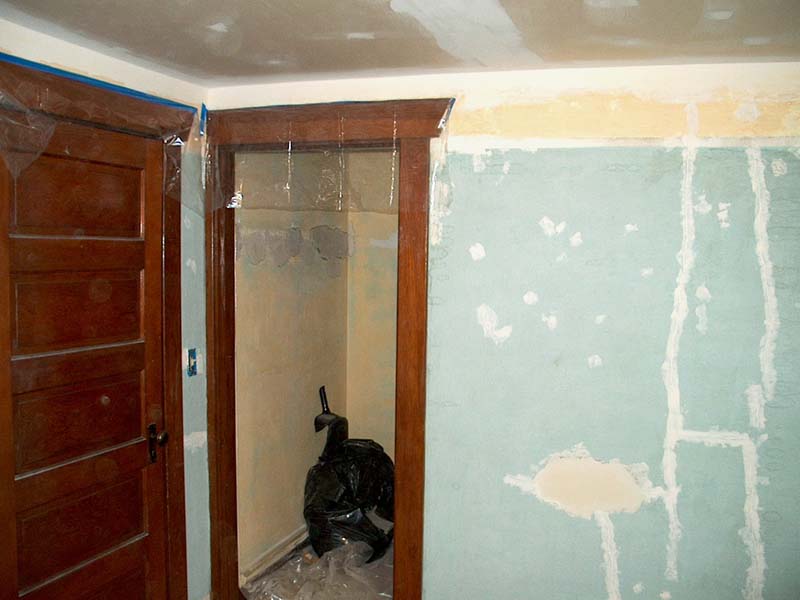
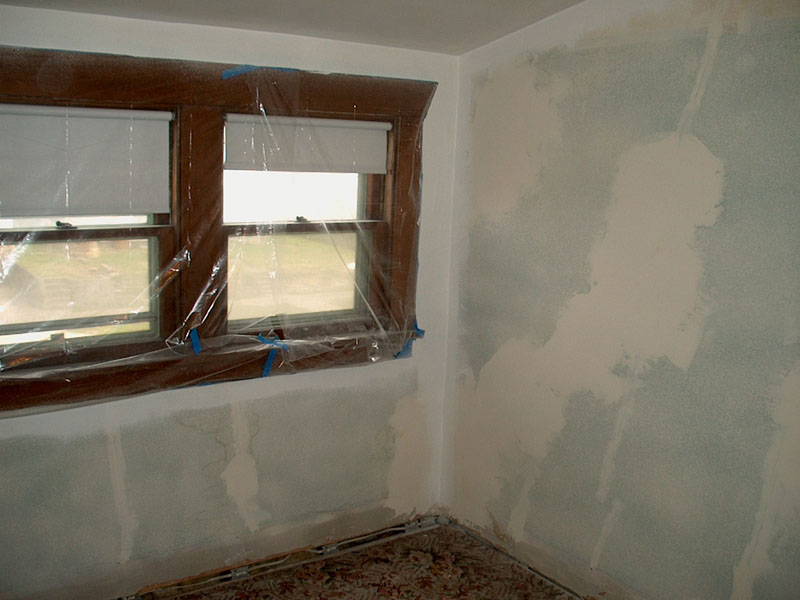
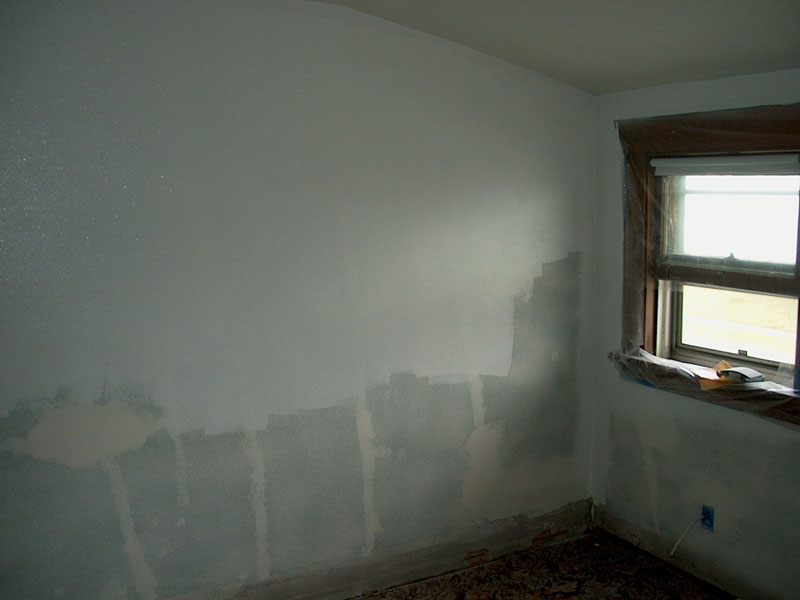
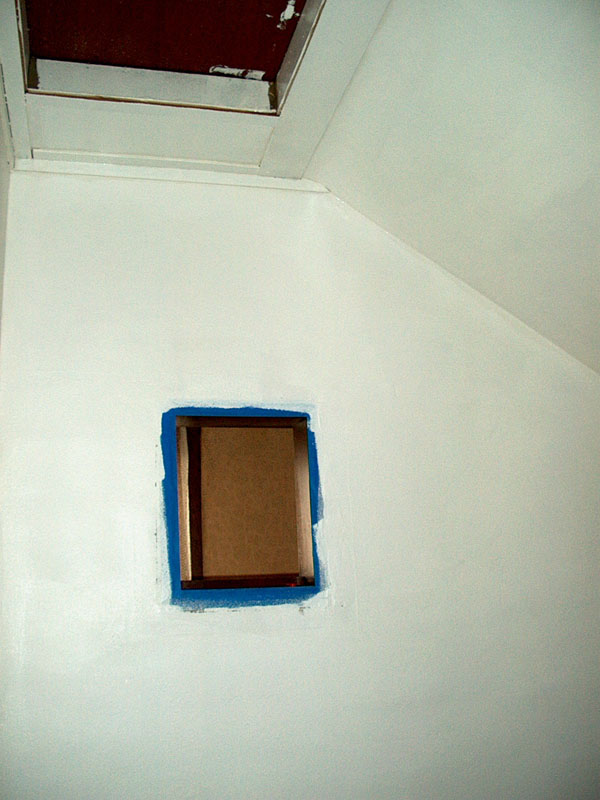
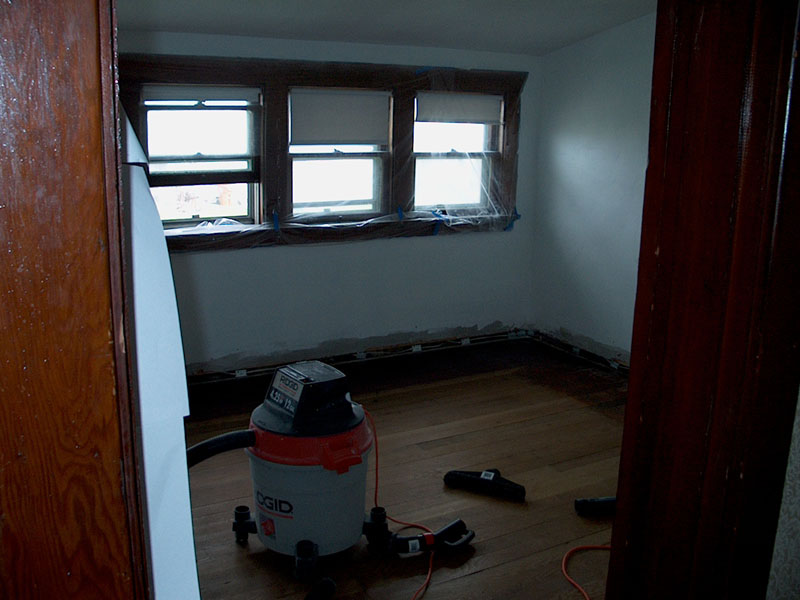
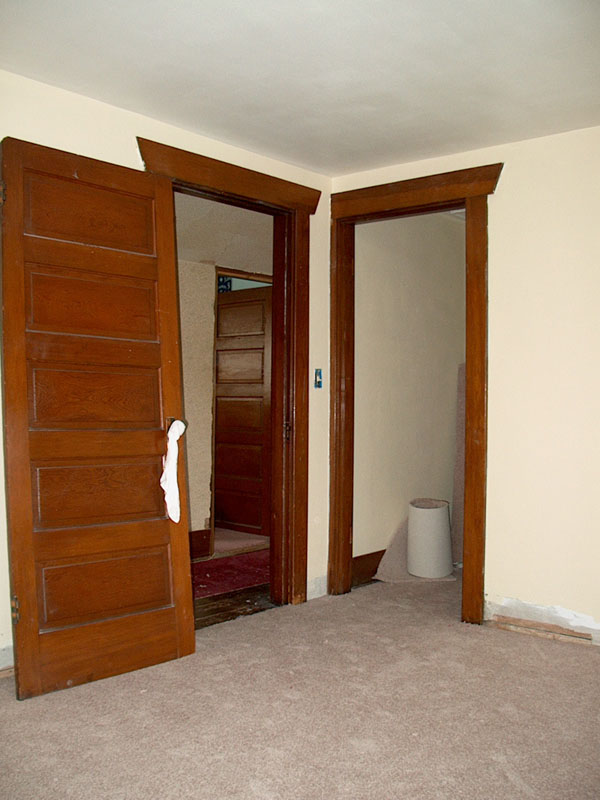
The next four pictures show the room after the wallpaper has been completely stripped and the drywall tape has been redone. The cracks and holes have also been prepared for patching.
The next series of pictures show the room after the cracks and holes have been filled, but not sanded. Once they are sanded and the texture is added to the walls, everything should disappear! (yeah, right)
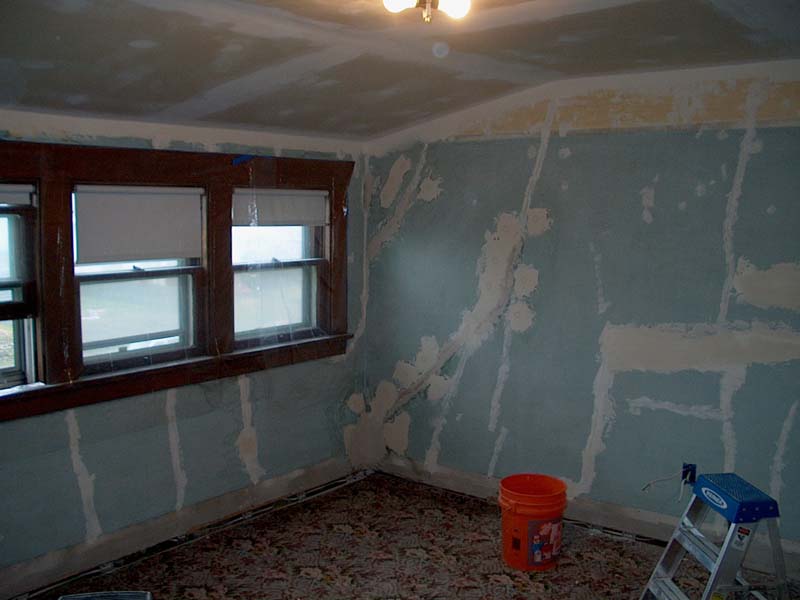
Throughout the house, most of the original woodwork is still in place. Very little of it has been painted over, which is the fate suffered by old wood in other houses of the era. 10-inch baseboards, quarter-round molding and a picture rail will once again adorn the walls!
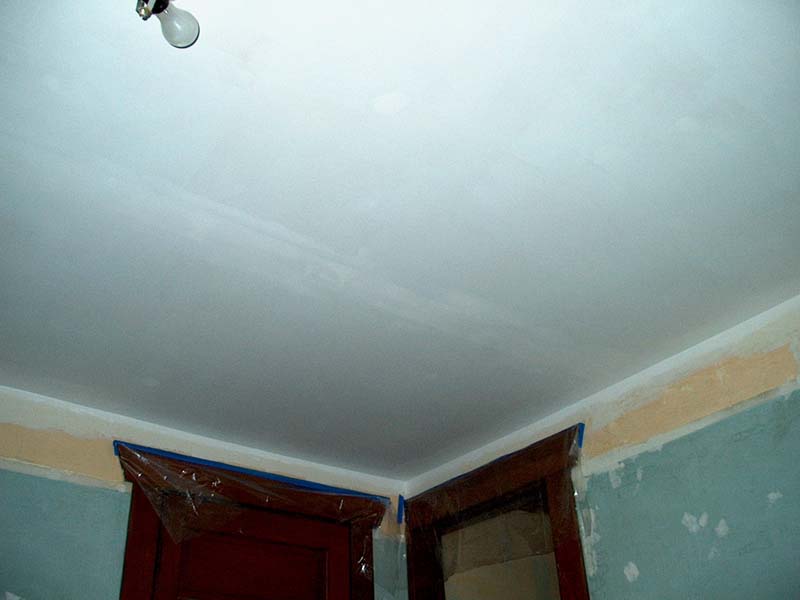
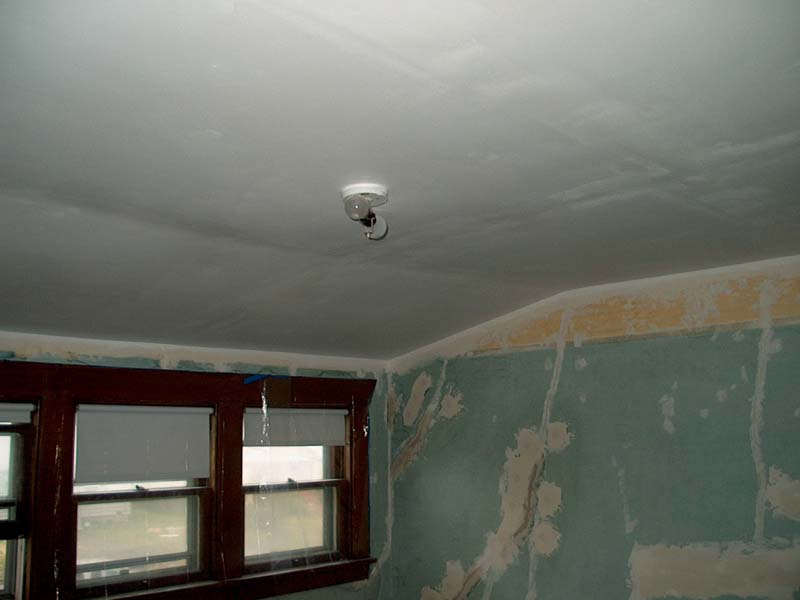
A little primer on the ceiling shows just how much you can hide with a good coat of paint. Once the spray texture is in place, you won't even be able to see those ugly seams. Oh...that light fixture is gonna go, too.
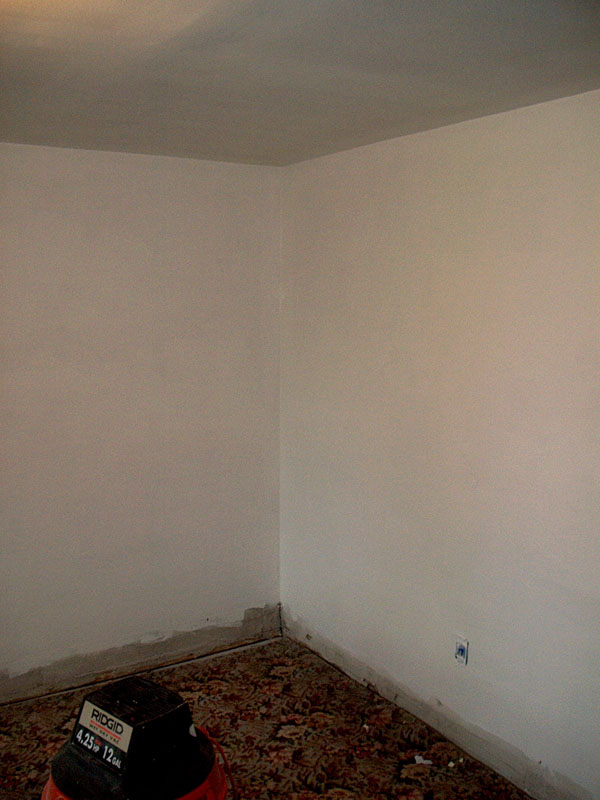
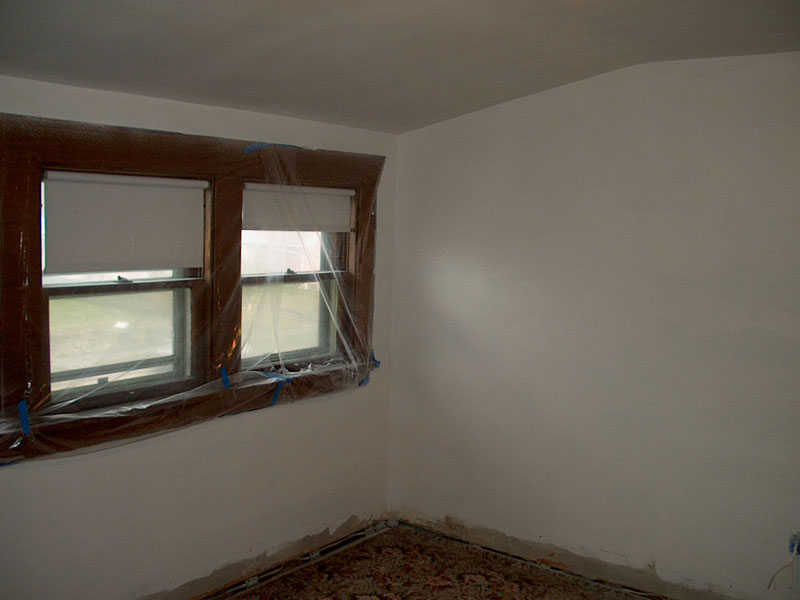
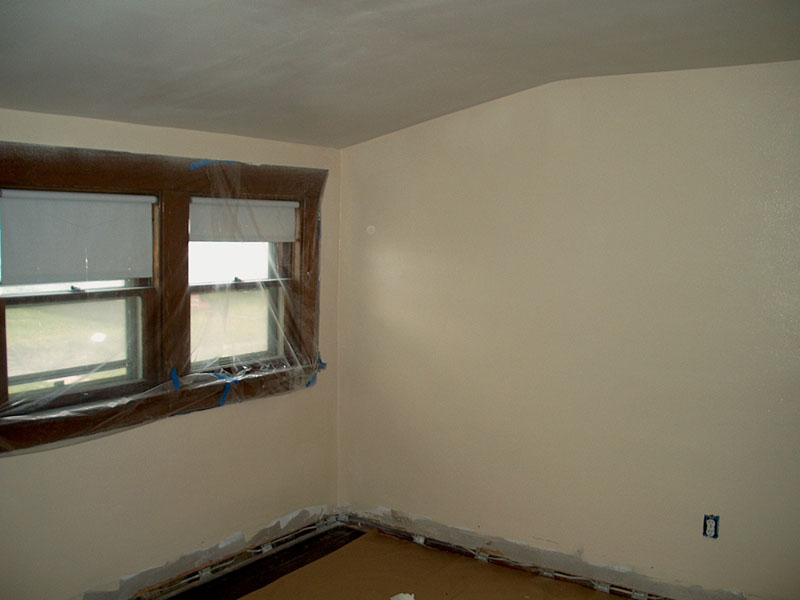
The walls now have a heavy "orange peel" spray texture applied. The texture helps to hide surface irregularities, bumps and patches. Note that we have begun "cutting in" the primer and have mostly covered one wall with it.

Primed and Ready! Now this is starting to come together! The primer has been applied over the spray texture. Note that "Africa" and "Australia" have disappeared and we still have the final wall color to go!
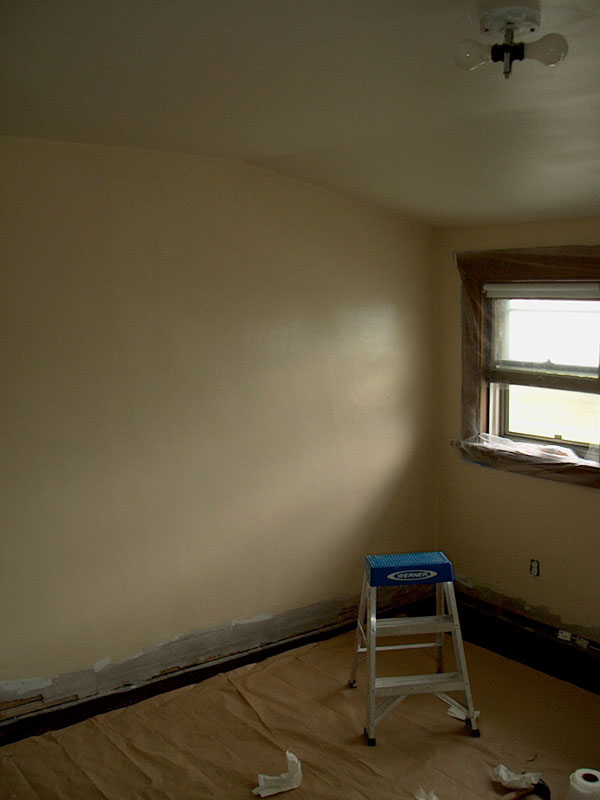
We're finally getting somewhere! The old rug was removed and then the ceiling was painted. In the picture, the ceiling looks a little grey, but it's really a soft, very light beige. Francie probably remembers the "actual" color.

And now, for paint on the walls! This job actually went VERY quickly because the masking was already done and the previously primed-over-old-paint plaster took paint very well. Less than a gallon was needed for the entire room, including the closet.

Lest you think things look entirely too neat...check out the hallway!
Carpet! Even without the baseboards in, this picture gives a pretty good idea how the colors work together.
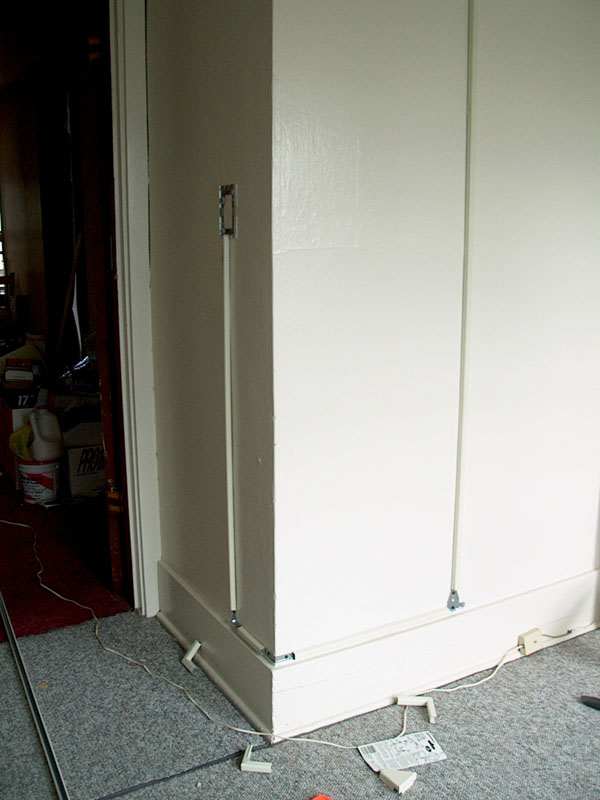
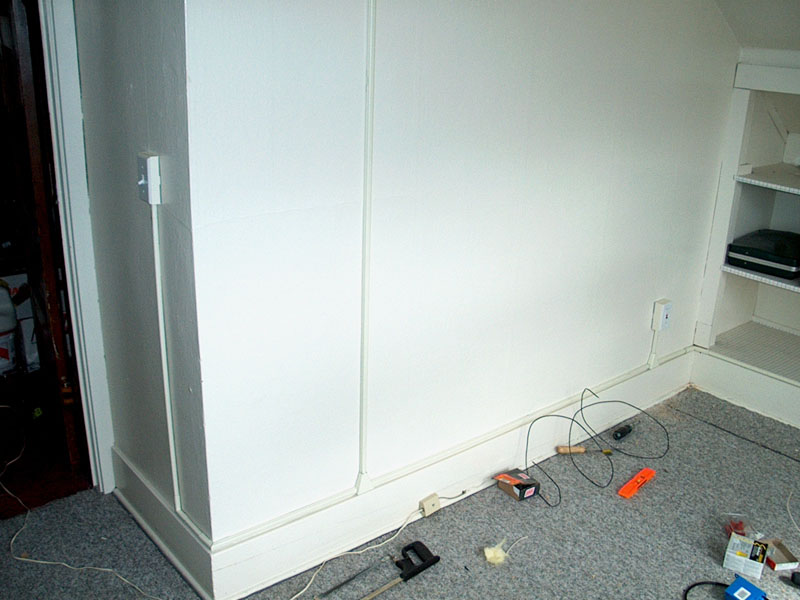
Side Project: new surface wiring in Francie's sewing room. This room originally had only one power outlet. I have used Wiremold surface wiring materials to tap into the power supply to the overhead light in order to add two extra outlets in this room as well as to power the two new outlets in the Master Bedroom Remodel project.
The first picture shows some of the track and corner pieces installed. The second shows the finished product.
updated 3/24/02